
https://www.freesion.com/article/4973968295/ 关于最后渲染三角形上下颠倒的解释
题目1 #
static bool insideTriangle(int x, int y, const Vector3f* _v): 实现此函数,用于判断点 (x, y) 是否位于由 _v [0]、_v [1]、_v [2] 表示的三角形内部。
思路就是获取三角形三个顶点,然后计算向量,取一个目标点P,然后进行叉乘,最后判断叉乘结果
static bool insideTriangle(int x, int y, const Vector3f* _v){

    // TODO : 实现此函数,用于判断点 (x, y) 是否位于由 _v [0]、_v [1]、_v [2] 表示的三角形内部。
    // TODO : Implement this function to check if the point (x, y) is inside the triangle represented by _v[0], _v[1], _v[2]

    // 提取三角形三个顶点 (仅使用 x, y 坐标,2D 判断)
    Vector3f v0 = _v[0];
    Vector3f v1 = _v[1];
    Vector3f v2 = _v[2];

    // 目标点 P
    Vector3f P(x, y, 0.0f);

    // 第一步:计算三条边的向量
    Vector3f edge0 = v1 - v0;  // v0 -> v1
    Vector3f edge1 = v2- v1;  // v1 -> v2
    Vector3f edge2 = v0 - v2;  // v2 -> v0

    // 第二步:计算顶点到点P的向量
    Vector3f vp0 = P - v0;
    Vector3f vp1 = P - v1;
    Vector3f vp2 = P - v2;

    // 第三步:2D 叉乘(只计算 z 分量)
    // 叉乘公式:a × b = a.x*b.y - a.y*b.x
    float c0 = edge0.x() * vp0.y() - edge0.y() * vp0.x();
    float c1 = edge1.x() * vp1.y() - edge1.y() * vp1.x();
    float c2 = edge2.x() * vp2.y() - edge2.y() * vp2.x();

    // 第四步:判断所有叉乘结果同号(全 >=0 或 全 <=0)
    bool hasNeg = (c0 < 0) || (c1 < 0) || (c2 < 0);
    bool hasPos = (c0 > 0) || (c1 > 0) || (c2 > 0);

    // 不同时存在正负 → 点在三角形内/边上
    return !(hasNeg && hasPos);
}
题目2 #
接着是实现z-buffer算法.思路是先计算三角形的包围盒,然后逐个遍历像素判断点是否在三角形内部.如果在三角形内部就对当前位置的深度和深度缓冲区的深度进行比较.
//Screen space rasterization
void rst::rasterizer::rasterize_triangle(const Triangle& t) {
auto v = t.toVector4();
// TODO : 计算当前三角形的包围盒
// 遍历像素,判断当前像素是否在三角形内部
// 如果在内部,使用以下代码计算插值后的z值
//auto[alpha, beta, gamma] = computeBarycentric2D(x, y, t.v);
//float w_reciprocal = 1.0/(alpha / v[0].w() + beta / v[1].w() + gamma / v[2].w());
//float z_interpolated = alpha * v[0].z() / v[0].w() + beta * v[1].z() / v[1].w() + gamma * v[2].z() / v[2].w();
//z_interpolated *= w_reciprocal;
// TODO : 如果像素需要绘制,调用 set_pixel 函数将当前像素设置为三角形的颜色(调用 getColor 函数获取)
// 1. 获取三角形三个顶点的 x,y 坐标
float x0 = v[0].x(), y0 = v[0].y();
float x1 = v[1].x(), y1 = v[1].y();
float x2 = v[2].x(), y2 = v[2].y();
// 2. 计算三角形的包围盒(Bounding Box)
// 取最小/最大 x、y,向外取整(像素坐标是 int)
int minX = std::min({x0, x1, x2});
int maxX = std::max({x0, x1, x2});
int minY = std::min({y0, y1, y2});
int maxY = std::max({y0, y1, y2});
// 3. 遍历包围盒内所有像素 (x,y)
for (int y = minY; y <= maxY; ++y) {
for (int x = minX; x <= maxX; ++x) {
// 4. 判断当前像素是否在三角形内部
if (insideTriangle(x +0.5f, y + 0.5f, t.v)) {
// 5. 计算重心坐标 + 透视校正插值 Z 值
auto[alpha, beta, gamma] = computeBarycentric2D(x, y, t.v);
float w_reciprocal = 1.0/(alpha / v[0].w() + beta / v[1].w() + gamma / v[2].w());
float z_interpolated = alpha * v[0].z() / v[0].w() + beta * v[1].z() / v[1].w() + gamma * v[2].z() / v[2].w();
z_interpolated *= w_reciprocal;
// 6. 深度测试:如果当前像素深度更小,就绘制
auto ind = get_index(x, y);
if (z_interpolated < depth_buf[get_index(x, y)]) {
depth_buf[get_index(x, y)] = z_interpolated; // 更新深度缓冲
set_pixel(Vector3f((float)x, (float)y, z_interpolated), t.getColor()); // 设置像素颜色
}
}
}
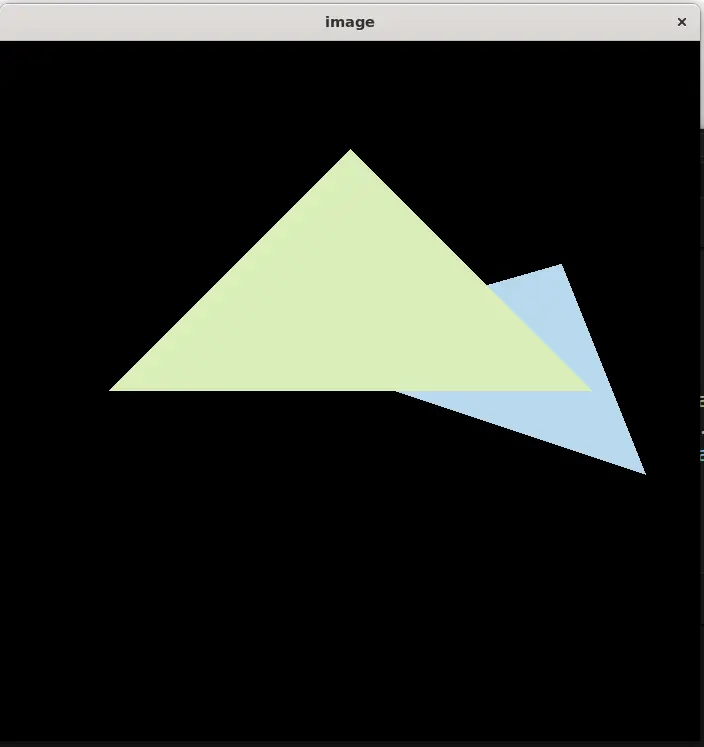
}运行结果:
提高题 #
用 super-sampling 处理 Anti-aliasing